![[Core Data] Context를 이용해 Entity에 Attributes들을 추가, 삭제](https://img1.daumcdn.net/thumb/R750x0/?scode=mtistory2&fname=https%3A%2F%2Fblog.kakaocdn.net%2Fdn%2Fc2F8yJ%2FbtrvFCg43A7%2FVYLKieX488aDR97oQKTGak%2Fimg.png)

4. CoreData Context를 이용해 Entity에 Attributes들을 추가하고, 삭제하기
지금까지 우리는 Entity와 Attribute를 만들고, 이를 Load 해서 tableViewCell 에서 보여지도록 해보았다.
그리고 Test를 위해 SQLite Editor을 통해 직접 DB를 수정해보았다.
먼저 이전 장에서 우리가 수동으로 추가했던 DB들은 다 지워주자. name부분만 추가한 거라서,
우리가 새롭게 값을 추가할 때 오류를 유발한다.
즉, 우리는 LoadCategories 함수를 이용해서 CRUD 에서 R(Read ) 를 완료했다.
그렇다면, 나머지 Create, Update, Destroy는 어떻게 할까?
천천히 알아보자.
먼저, Create를 해보자!
StoryBoard에서 TableViewController의 Navigation Bar 오른쪽 부분에 Button을 하나 올려준다.
그리고 버튼의 속성에서 System Item 을 Custom에서 Add 로 변경해준다. 그러면 + 모양으로 아이콘이 바뀔 것이다.
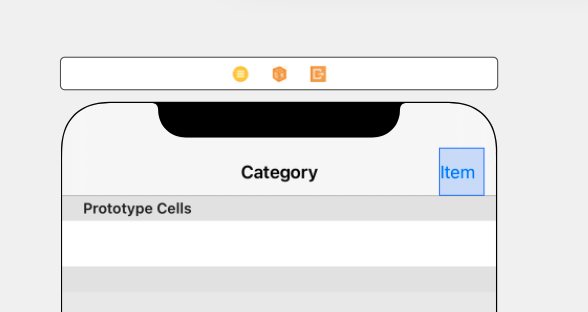

우리는 이 버튼을 통해 새로운 카테고리를 생성할 것이다.
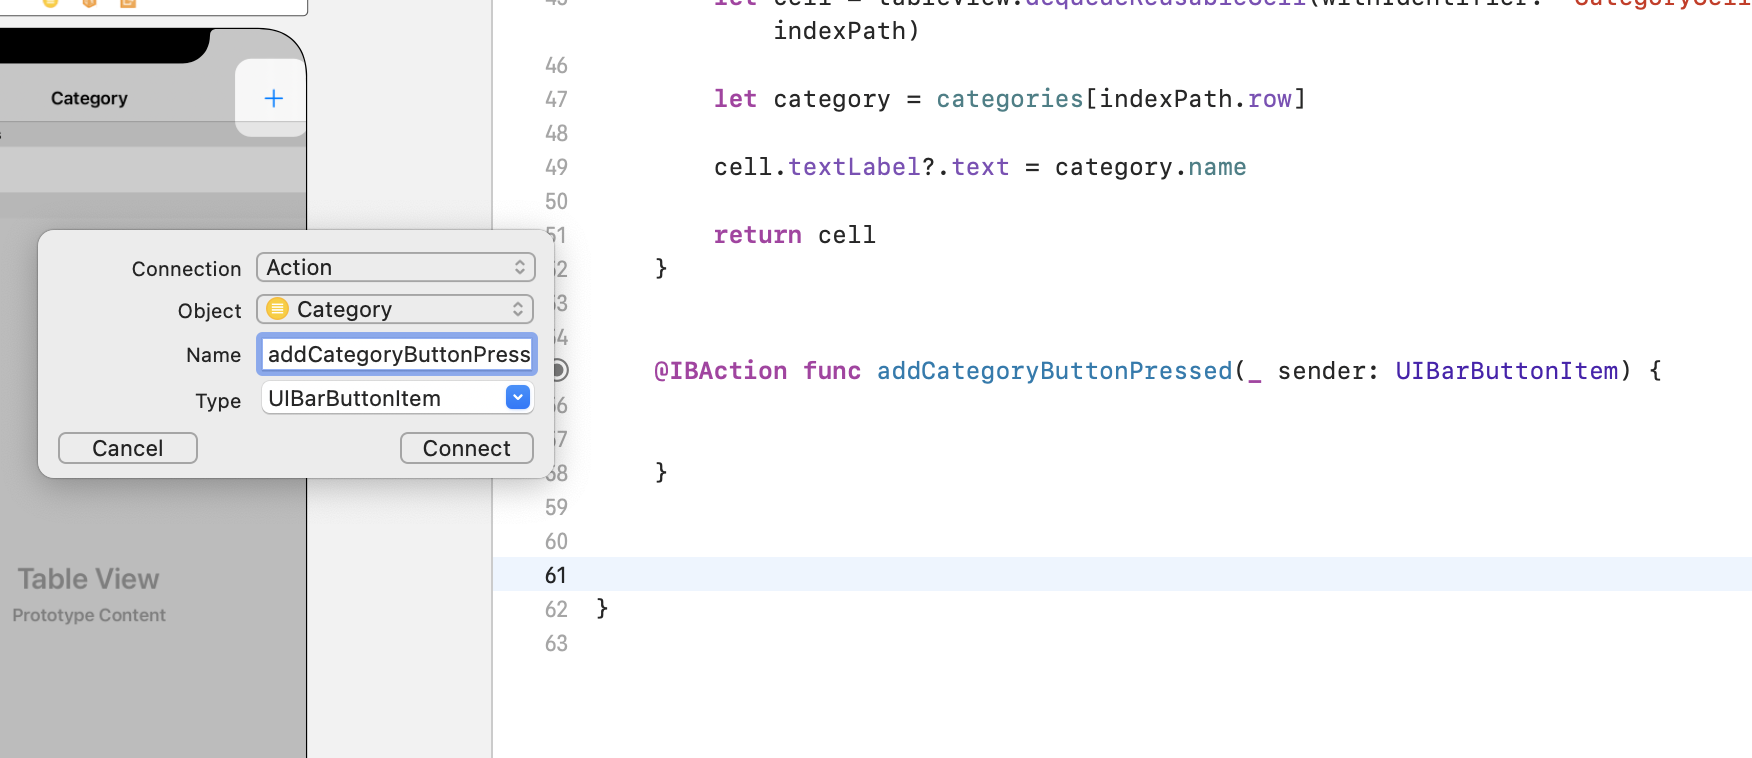
다음과 같이 생성 버튼이 클릭되었을 때 할 일을 지정해주는 IBAction 함수를
addCategoryButtonPressed 이라는 이름으로 만들어주자
(혹시나 연결하는 법을 모른다면, storyboard에서 ctrl 을 누른 상태에서 코드로 드래그 한 후, Action을 선택해주면 쉽게 만들 수 있다.)
이렇게 만들어 준 후, 역할을 부여해보자.
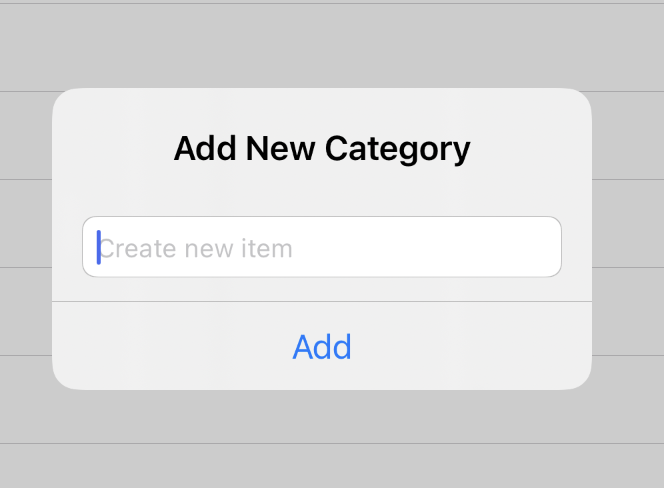
우리는 Alert 창을 띄워서 그 위에 Category 이름을 적어서 새로운 카테고리를 만드려고 한다.
어떤 작업을 해야할까?
아래 함수의 코드를 넣어주자.
그리고 함께 무슨 일이 일어나고 있는지 알아보자!
    @IBAction func addCategoryButtonPressed(_ sender: UIBarButtonItem) {

        var textField = UITextField()

        let alert = UIAlertController(title: "Add New Todoey Category", message: "", preferredStyle: .alert)

        let action = UIAlertAction(title: "Add Category", style: .default) { (action) in
            // what will happen once the user clicks the Add Item button on our UIAlert


            let newCategory = Category(context: self.context)
            newCategory.name = textField.text!

            self.categories.append(newCategory)

            do {
                try self.context.save()
            } catch {
                print("Error saving context \(error)")
            }

            self.tableView.reloadData()
        }

        alert.addTextField { (alertTextField) in
            alertTextField.placeholder = "Create new category"
            textField = alertTextField
        }


        alert.addAction(action)

        present(alert, animated: true, completion: nil)

    }
음.. 길고 복잡하다. 하지만 이 함수가 결국 무엇을 하고 싶은지에 집중한다면, 그 과정은 쉽게 이해할 수 있다.
이 함수에서 결국 하고 싶은 건, 다음 두 동작이다.
맨 밑 줄에 집중에보자.
alert.addAction(action)

present(alert, animated: true, completion: nil)
첫번째는 alert의 버튼이 눌렸을 때, 어떤 동작을 할 것인지 Action을 추가해주는 것이고,
두번째는 동작까지 추가된, 즉 완성된 alert를 표시해주는 것이다.
var textField = UITextField()

let alert = UIAlertController(title: "Add New Category", message: "", preferredStyle: .alert)
우리는 textFiled가 필요하니까 하나 만들어주고,
주의할 점은 이 textField는 alert의 textField 그 자체는 아니라는 것이다.
뒤에서 또 설명하겠지만, 여기에 alert의 textField 값을 담고, 이를 Categories 배열에 넣어준다.
alert도 원하는 이름으로 하나 만들어줬다.
자 이제 action을 보자.
        let action = UIAlertAction(title: "Add", style: .default) { (action) in
            // what will happen once the user clicks the Add Item button on our UIAlert


            let newCategory = Category(context: self.context)
            newCategory.name = textField.text!

            self.categories.append(newCategory)

            do {
                try self.context.save()
            } catch {
                print("Error saving context \(error)")
            }

            self.tableView.reloadData()
        }
Add 라는 이름으로 정의한 버튼을 누르면, 어떤 동작을 할 것인지를 클로저로 정의했다. (ㅎ.. 클로저)
일단 새로운 NSManagedObject 객체(Category Entity)를 만들어주고
(NSManagedObject가 아직 무엇인지 잘 모른다면, 제대로 읽어보지 않은 것이다. 반드시 이전 글을 클릭해서 다시 읽고 오자)
새로운 객체의 name Attribute를 textField의 text로 설정해준다.
이 textField의 text는 alert의 textField에서 가져올 것이다.
그 다음에 새로 만들어진 객체를 categories 에 append 해준다. 즉, 여기서 새로 만든 행이 context에 추가되는 것이다.
마지막으로 이제 추가 작업이 끝났으니 context.save() 를 통해 적용시켜준다.
그리고 reloadData() 함수를 통해, tableView를 새로고침 해서 적용시켜주는 것이다.
그리고 아까 alert의 textField에서 사용자가 입력한 text 값이 우리가 만든 textField로 복사되서, category 객체의 name Attribute로 들어간다고 했었다.
그 부분을 여기서 확인할 수 있다.
        alert.addTextField { (alertTextField) in
            alertTextField.placeholder = "Create new category"
            textField = alertTextField
        }
이 함수에서는 alert에 textField를 추가하고, 여기서 사용자가 입력한 값을 받아온다.
그리고 이 값은 우리가 만들어주었던 textField로 들어가게 된다.
다시 한번 주의할 점은 context를 통해서 값을 추가하기 전에, 우리가 수동으로 추가했던 DB들은 다 지워주어야 한다는 것이다.
그렇지 않으면 값이 제대로 추가되지 않고 오류를 반환할 것이다.
이제 한번 시뮬레이터를 돌려서 추가해보자.
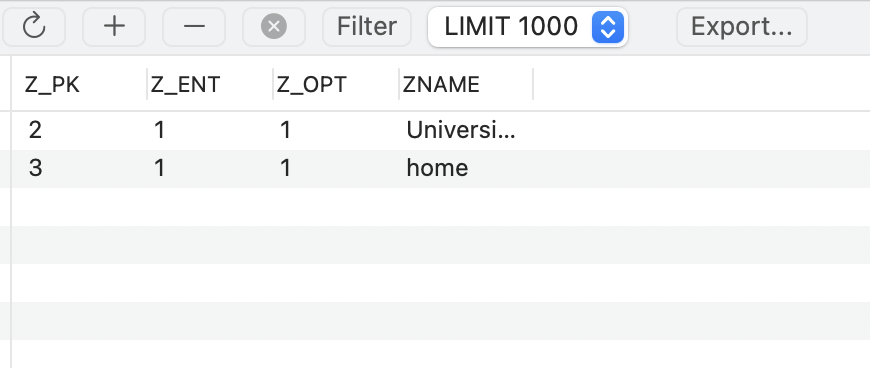
아주 잘 들어가 있는 것을 확인할 수 있다.
다음으로 넘어가기 전에,
context.save() 함수 부분은 데이터를 삭제하거나 수정할 때도 마찬가지로 사용해야 함으로 다음과 같이 함수로 빼주자.
    func saveCategories() {

        do {
            try context.save()
        } catch {
            print("Error saving context \(error)")
        }

        self.tableView.reloadData()

    }
결국 완성된 버튼을 눌렀을 때, DB를 추가하는 부분은 다음과 같다.
    @IBAction func addCategoryButtonPressed(_ sender: UIBarButtonItem) {

        var textField = UITextField()

        let alert = UIAlertController(title: "Add New Category", message: "", preferredStyle: .alert)

        let action = UIAlertAction(title: "Add", style: .default) { (action) in
            // what will happen once the user clicks the Add Item button on our UIAlert


            let newCategory = Category(context: self.context)
            newCategory.name = textField.text!

            self.categories.append(newCategory)

            self.saveCategories()
        }


        alert.addTextField { (alertTextField) in
            alertTextField.placeholder = "Create new category"
            textField = alertTextField
        }


        alert.addAction(action)

        present(alert, animated: true, completion: nil)

    }

    func saveCategories() {

        do {
            try context.save()
        } catch {
            print("Error saving context \(error)")
        }

        self.tableView.reloadData()

    }
이제 데이터를 삭제해보자!
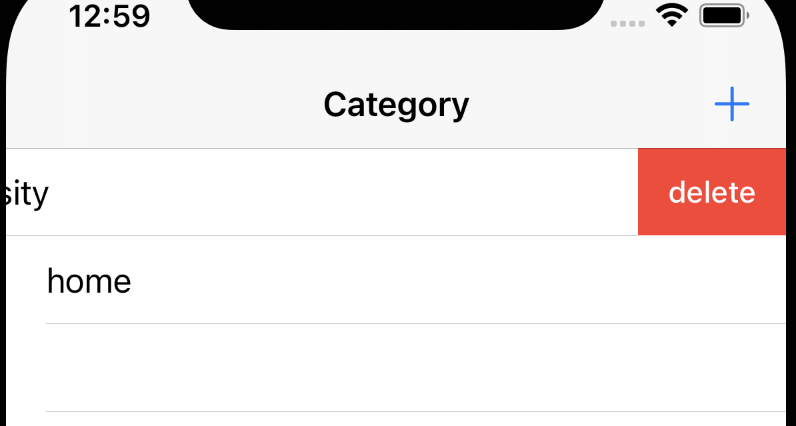
데이터 삭제는 다음과 같이 Cell 을 왼쪽으로 slide 했을 때 일어나도록 할 것이다.
아마 자주 사용해 봐서 익숙한 기능일 것이다.
마찬가지로 CategoryViewController에 다음과 같은 함수를 추가해주자.
    override func tableView(_ tableView: UITableView, trailingSwipeActionsConfigurationForRowAt indexPath: IndexPath) -> UISwipeActionsConfiguration? {
        let deleteAction = UIContextualAction(style: .destructive, title:  "delete", handler: { (ac:UIContextualAction, view:UIView, success:(Bool) -> Void) in
            self.context.delete(self.categories[indexPath.row])
            self.categories.remove(at: indexPath.row)
            self.saveCategories()

            success(true)
        })

        return UISwipeActionsConfiguration(actions:[deleteAction])

    }
이게 trailing 즉, cell의 끝쪽에서 swipe 했을 때 일어나는 action을 정의해주는 함수이다.
이 함수가 어떻게 동작하는 지에 대해서는 자세하게 설명하지 않겠다.
addCategoryButtonPressed 액션함수와 마찬가지로 천천히 읽어보면 충분히 이해할 수 있을 것이다.
여기서 중요하게 봐야할 부분은 이렇게 DB에서 값을 제거하는 부분이다!!
            self.context.delete(self.categories[indexPath.row])
            self.categories.remove(at: indexPath.row)
            self.saveCategories()
여기서 중요한 것은 "순서"이다.
만약에 categories 배열에서 해당 indexPath.row를 remove 한 후에, context 에서 해당 categories[indexPath.row] 를 제거하면 어떻게 될까?
app이 터진다.
왜냐하면... remove를 해준 순간부터 더이상 categories[해당 indexPath.row] 는 존재하지 않기 때문이다.
그래서 존재하지 않는 값에 접근하는 순간 app이 터지는 것이다.
반드시 먼저 context 에서 해당하는 값을 삭제하고, 배열에서 제거해주어야 한다.
이 부분은 충분히 생각하면, 왜 이렇게 해야 하는지 이해할 수 있을 것이다.
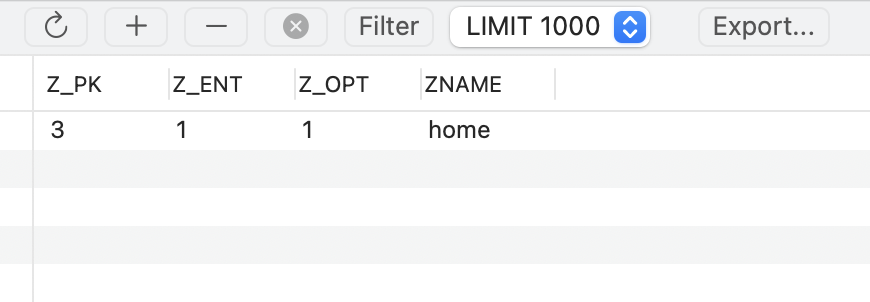
제거한 Category 는 DB에도 잘 반영되었다ㅎㅎ
'iOS 개발 > CoreData' 카테고리의 다른 글
| [CoreData] Relationship을 통해 Data를 관리하기 (0) | 2022.01.06 |
|---|---|
| [CoreData] Coredata 자체를 sort 할 수 있을까? (0) | 2021.11.17 |
| [Core Data] Entity의 Name Attribute들을 Cell에 표시하기 (0) | 2021.09.07 |
| [Core Data] TableView와 Navgation Cotroller을 임베디드 하기 (0) | 2021.09.07 |
| [Core Data] Entity와 Attribute를 생성하는 방법 (0) | 2021.09.07 |
| [Core Data] Context란? (0) | 2021.09.06 |
| [Core Data] Entity Class 설정 - Codegen option 탐구 (0) | 2021.09.03 |
| [애플 Document 번역] Core Data (0) | 2021.08.27 |